Our Story

Welcome to our site! We are Joanne & Steve. After 20+ years working for a city school department and police department, we sold almost everything, bought an RV, and started living on the road with our three children. Joanne homeschooled and worked online. Over the years we worked for Jellystone Parks as well as volunteered. We stopped traveling after 7 years and bought a house. Steve continued police work with the National Park Service and Joanne taught Kindergarten. Now that our three kids are adults, we have decided to travel more and explore.
.


Friday, August 16, 2013

Ashamed, Shocked, Revolted...

Baring my soul here...well, at least my incredibly gross can opener.

I pride myself on being fairly OCD when it comes to germs and overall cleanliness.  My hands can handle 180˚ dish water.  I love my Lysol wipes and do try to use Green products when I can.  So, I was shocked the day I took a good close look at my manual can opener.

The list of canned goods in our pantry is short; tuna, ravioli, soup, fruit, veggies.  Maybe 4-5 cans of each.   Not a lot of space you see.  Of course, when we were in a house 2 years ago we had many, and probably opened more then than now.  But, I cleaned the opener!  I swear!

I'd rinse it with hot water, and even soak it in hot soapy water quite regularly.   So, yes, I was shocked the day I took a close look...
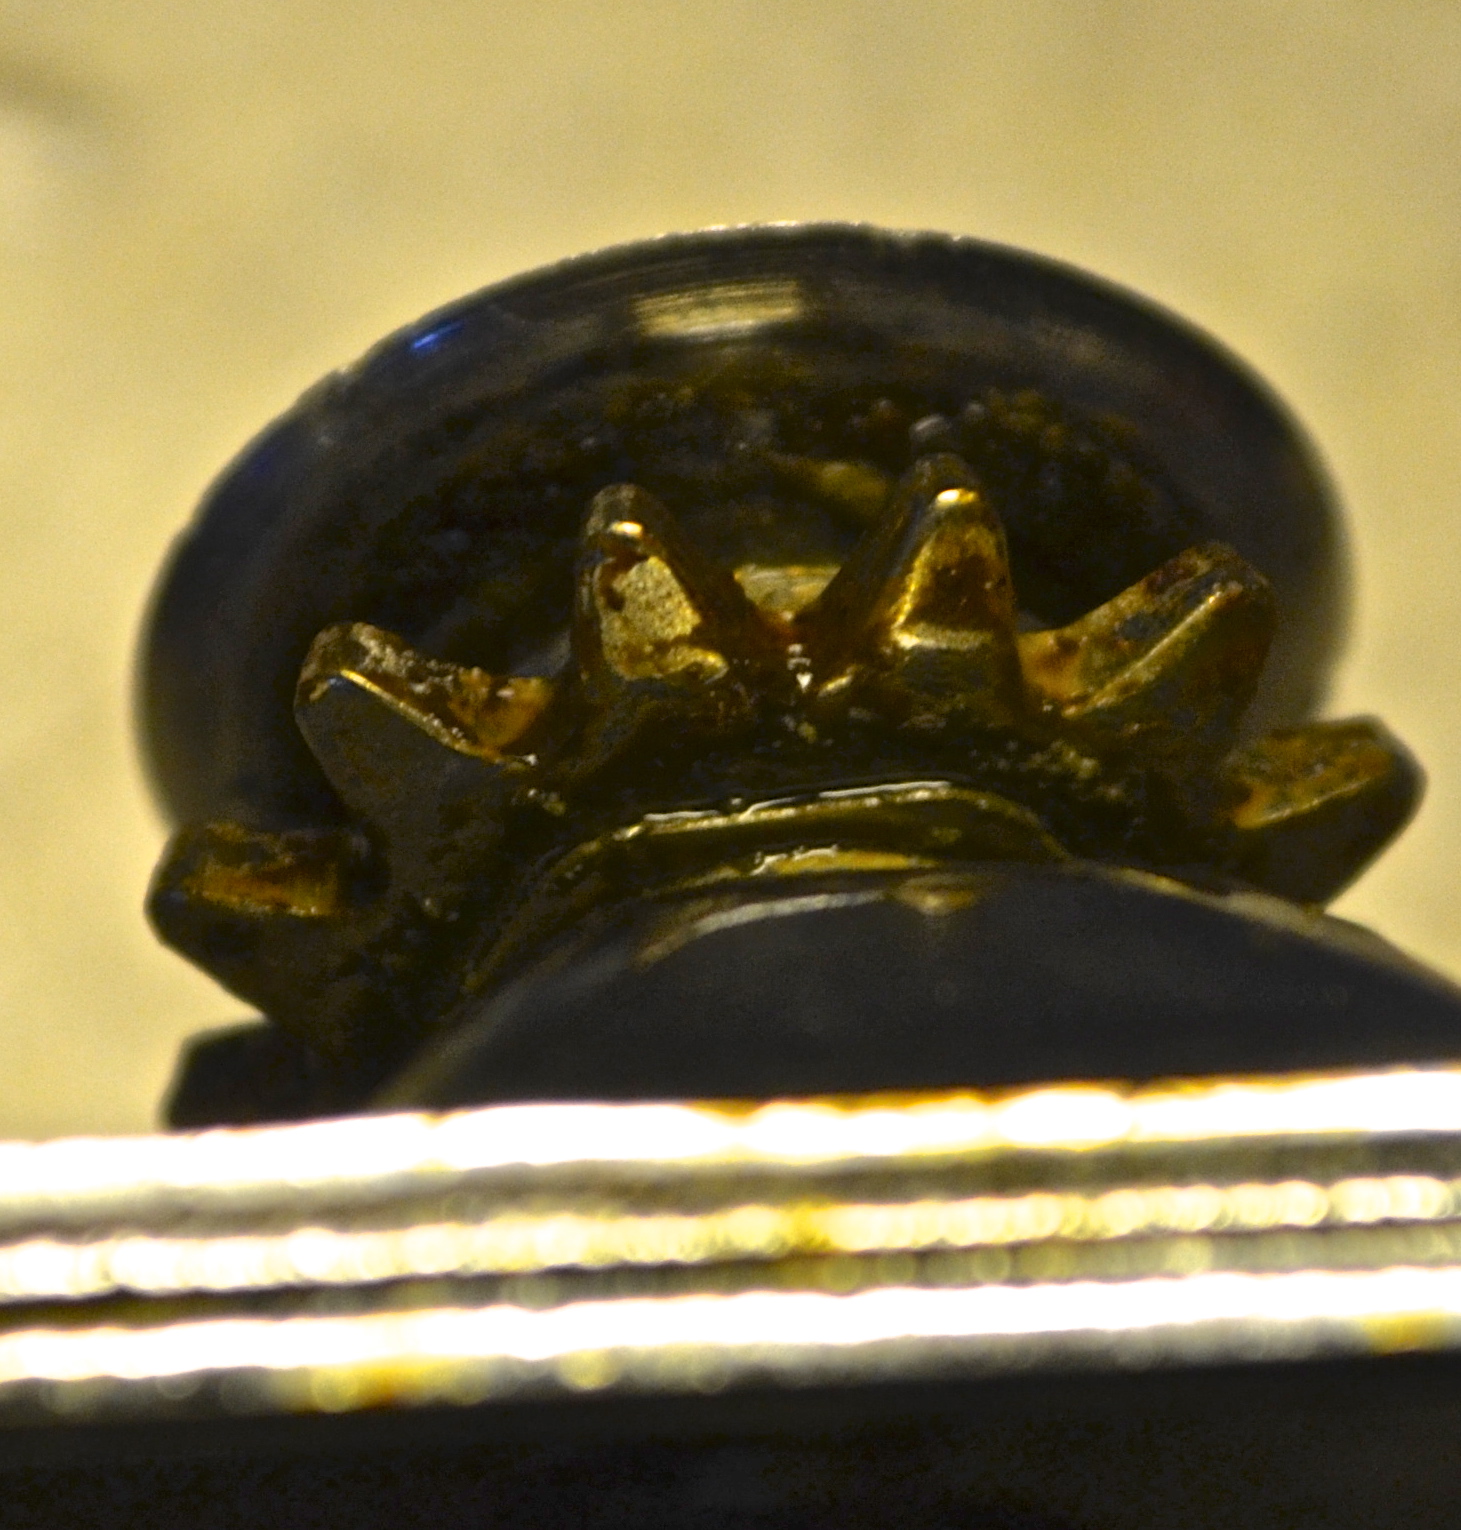


I immediately set to cleaning.  

That black gunk in there is old food and innumerable bacteria.


Every use leaves a little bit of the food and any bacteria that may be in the food itself...

salmonelle, e-coli, listeria, to name a few.


Left to it's own devices and provided with a dark drawer in which to proliferate, 
the bacteria will happily multiply.

And of course, that means that any time you open any can, you are possibly transferring that bacteria to the food you are eating.  And if you are lucky enough to cut yourself on that just-opened sharp top...guess where that bacteria is now?

(So, that sudden bout with diarrhea
 wasn't just a coincidence.)


So, with old SANITIZED toothbrush (why would you clean something with a toothbrush covered in germs?), baking soda, and anti-bacterial soap, I set to work.


Be careful, by the way.  That disk is sharp.


Not new looking, but definitely clean.


And will remain that way.


So, the next time you have a few minutes, get a little closer to your can opener...electric, too.  

And while you are at it, run a paper towel or bleach wipe under and around your faucet handles...
see what surprises await you.


Links for your bacteria enjoyment:  Don't eat while reading these.

http://www.cdc.gov/listeria/
http://www.cdc.gov/ecoli/
http://www.cdc.gov/salmonella/

City Pickers Patio Garden Kit

When we lived in a sticks-and-bricks, we had a garden.  It wasn't anything really fancy, but was enclosed by a white fence and had various vegetables planted; some of which grew fairly well.  We in no way consider ourselves gardeners, however.

When we found ourselves staying put in Texas for several months, Steve and I decided to once again try our hand at green-thumbing.  Nothing as ambitious as we had before, mind you.  The soil here is rocky...limestone mostly, and we get very little rain.  What I really wanted was a small herb garden; something else with which I had moderate success.

Our trip to Home Depot back in May had us purchasing these two large, rectangular bins.  Seemed like a good size to plant 6 - 7 types of herbs.  As we rung out at the register, I was a bit shocked to learn I had just paid over $60 for these two plant bins!

But, these were not just two, regular, plain, old plant bins.  
These were the City Pickers Patio Garden Kit!


The secret to this great bin is the water well at the bottom.  You fill it through the tube that protrudes from the soil that is placed on top of the aeration screen.  Your roots are forever able to drink.  Even if you forget to water them regularly, like some people.


3 Parts:  bin, aeration screen, water fill tube (plus a mulch cover and casters, which we didn't use).
Here is our garden:  basil, small leaf basil, oregano, lavender, rosemary, 
banana peppers, and japeño peppers.

Best garden we ever had!


Constant prolific peppers.


Hardy.


We are leaving Texas soon, and decided to give away most of the plants instead of traveling with them.  A bit tall and large for the week-stays we are planning for the next couple of months.  But, we are taking our City Pickers Patio Kits with us as we pack to head to New Mexico.  Probably won't fill them again til we sit for the winter.  Worth the money.  (Or, make your own!)

http://www.homedepot.com/catalog/pdfImages/a6/a6baf22e-f3cb-4830-a4be-79a1f518c4cb.pdf

Wednesday, July 17, 2013

Miss Giddy's

In Comfort, Texas, there is a quaint and sweet shop called Miss Giddy's.  


Located in the Historical District, it is a store with a variety of sweet treats, baubles & beads, imaginative toys, kitchen sundries, lovely frocks, and precious journals.  


Serendipity


A shopper's dream.


Hungry?  Have  a slice of pie on the porch.


Miss Giddy's.  A reason to visit Comfort.  A reason to stay.


Sunday, June 9, 2013

Self watering bowl for your favorite traveling pet. Cheap, too.

Are you tired of filling your fur-baby's water dish?  Does the summer heat keep the water warm and unappealing?  Well, head to your local hardware store to buy a 4' length of tubing for under $5.00 and create this handy-dandy little self-waterer that not only fills the bowl, but fills it with ice cold water!


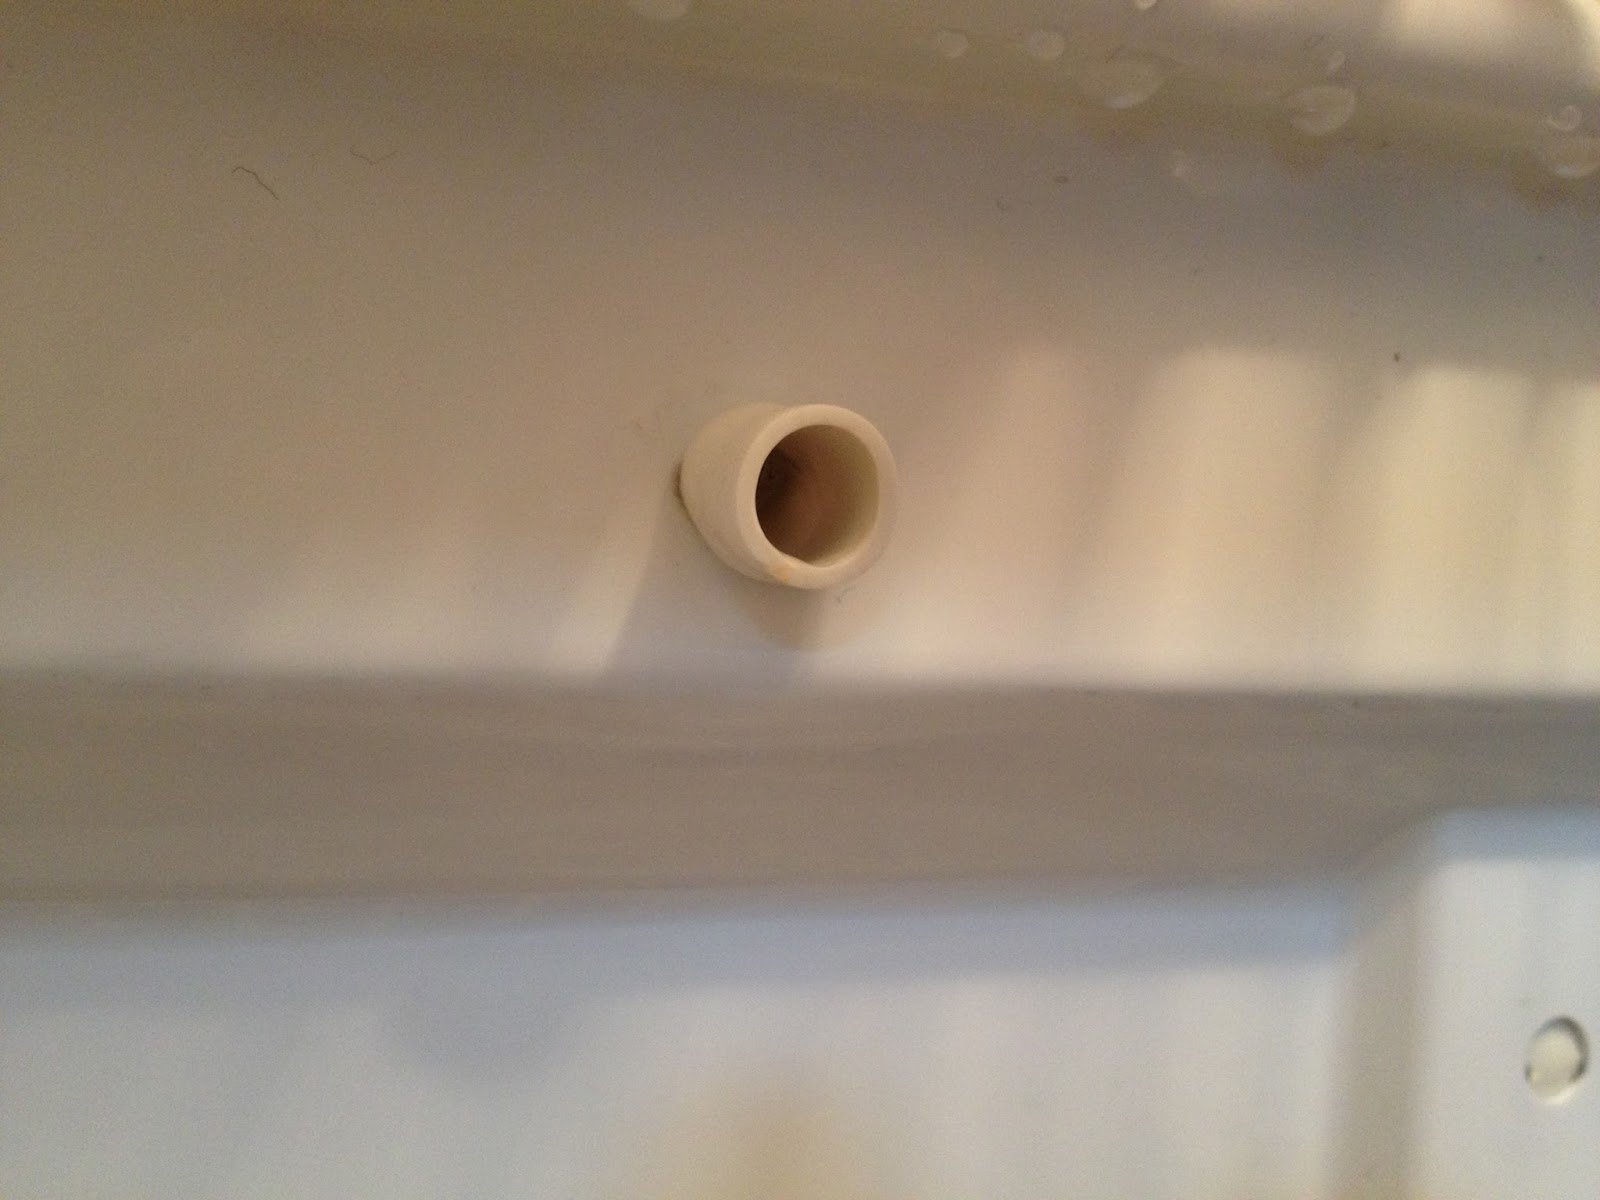
Find this little do-hicky hole (or drain tube) under your freezer in the back of your fridge.


It's right there under the freezer fins. A tray sits in front of it to catch the freezer thaw and then the water exits the hole and drips out of the exterior tube.


Here it is situated behind the tray.


On the outside exit tube, add some nylon splice and food grade tubing.


Attractive and  functional.  Something we all want.


Let drain into Pooch's bowl.
 Easy Peasy.


PS: That tray that collects the water can get pretty dirty...not sure why, dust?... but it does.  So clean it every now and then.


Thursday, April 25, 2013

Fort Travis, Bolivar Peninsula, Galveston County, Texas

Fort Travis
A ferry ride from Galveston, TX, to the Bolivar Peninsula brought us to Fort Travis, established in 1898 by the Republic of Texas and finished construction in 1943.  

The fort was used by the coast artillery after 25 October, 1899 and was defended by 4 batteries.  The firepower used ranged from two 12-inch guns to 3-inch rapid fire guns.

There were 27 buildings including those used as barracks and mess hall. 

After the 1900 hurricane, a 17-foot seawall was constructed on the Gulf side of the fort.  During WWII, a number of German prisoners were interred there.  In 1949, the fort was considered war surplus, and sold.  In 1973, the site was purchased for a public park, now called Seashore Park.


http://www.fortwiki.com/Fort_Travis_(2)

Friday, April 12, 2013

Exploring the Underworld of Calcite at Natural Bridge Caverns, San Antonio, Texas


On March 27, 1960, four college students from St. Mary's University in San Antonio began an underground exploration that ultimately would reveal the largest cavern system in Texas. Led to the site after hearing of an amazing 60-foot limestone bridge which would become the caverns' namesake, the students obtained permission from the Wuest family to investigate what laid beneath their ranch. Initially the students didn't make any remarkable finds, but on their fourth expedition they uncovered a long, narrow crawlspace that ultimately opened up into two miles of virgin caverns. 

Today, their discovery is recognized as a National Natural Landmark by the U.S. Department of the Interior and one of the world's premier show caverns. 


The Natural Bridge
When you think of limestone, what color comes to mind?  Well, limestone isn't green.  It is grayish, or white.  Limestone is a sedimentary rock composed primarily of calcium carbonate (CaCO3) in the form of the mineral calcite.  The rock is formed usually in clear, warm, shallow marine waters by an accumulation of shell, coral, algal, and fecal debris.  

More on limestone:  MORE


The words stalactite and stalagmite can be traced back to the Greek word "stalassein," which means "to drip." This is fitting because it describes how both are formed in nature. Although they look lifelike and a little creepy, stalactites and stalagmites grow simply because of water running over and through inorganic material.


Limestone caves, where most stalactites and stalagmites are found, are mainly composed of calcite, a common mineral found in sedimentary rocks. Calcite molecules are made of calcium and carbonate ions, and are referred to as CaCO3, or calcium carbonate. When rainwater falls over a cave and trickles through rocks, it picks up carbon dioxide and minerals from limestone.

If we add water, carbon dioxide and calcium carbonate together, we get this equation:
H20 + CO2 + CaCO3 = Ca (HCO3)2

Ca (HCO3)2 is known as calcium bicarbonate, and the water carries the substance, basically dissolved calcite, through the cracks of the roof of a cave. 


Once water comes into contact with the air inside the cave, however, some of the calcium bicarbonate is transformed back into calcium carbonate, and calcite starts to form around the crack. 


As water continues to drip, the length and thickness of the calcite grows, and eventually a stalactite forms on the ceiling. It can take a very long time for most stalactites to form.  A piece the size of an ice cube takes about 100 years.


Here are some examples of the way we use calcium bicarbonate:  USES


Stalagmites grow up from the ground...well, not exactly.  The water dripping from the end of a stalactite falls to the floor of a cave and deposits more calcite into a mound. Soon enough, a stalagmite will form in a cone-like shape. This is why you usually find stalactites and stalagmites in pairs, and sometimes they'll even grow together to form one big column. 


Here are some examples of the way we use limestone:   USES

The Natural Bridge Caverns are worth the visit.  The guided tour is about 75 minutes long.  You can move at your own pace but want to stick somewhat with the group to listen to the interesting facts your guide shares.  The formations are amazing and other-wordly.  I cannot imagine what went through the college kids' minds when they first encountered these large underground caverns and huge mineral growths.  

When you take the tour, find one of the pamphlets located at any local welcome center or convenience store and take advantage of the $2.00 off adults and $1.00 off kids coupons.  Wear rubber-soled shoes.  Don't overdress. It isn't colder because you are 180 feet under ground.  The caverns are kept at a constant 70˚ with a relative humidity of 99%.  

Bring your camera.  It is lit down there, but a flash will white out the natural colors, so either diffuse it or don't use it.

There are a couple different choices of tours, The Discover Tour 
and The Hidden Passages Tour.


Credits:  

5000 year old evidence of bat tenants.
How Stuff works


Evidence in Blue
Buzzle

Geology

Petrified Bat Poop